Please note: Content Performance is available as an add-on for Startup, Growth, and Scale plans, and on Business-level plans and higher. To read more about the Content Performance plugin and how it works, please visit About Content Performance.
Before Installation
Before installing Content Performance, please make sure you are using a compatible web browser, and that your site meets all the System and WP REST API Requirements:
System Requirements
- At least 2 months of Google Analytics data for your WordPress install
- WordPress 4.3.0 or higher
- PHP 5.5 or higher
- Publicly accessible site
- Non-multisite
- WP REST API enabled
Browsers
Content Performance is supported on the latest versions of the following:
- Chrome
- Firefox
- Microsoft Edge
- Safari
Additional WP REST API Guidelines
- Content Performance is not compatible with plugins that use WP REST API v1.
- Your install should use the default WP REST API prefix.
- Your install should use a pretty permalink structure.
Once you have verified your site meets these compatibility requirements, please continue to installing and configuring Content Performance.
Step One: Install & Activate Content Performance
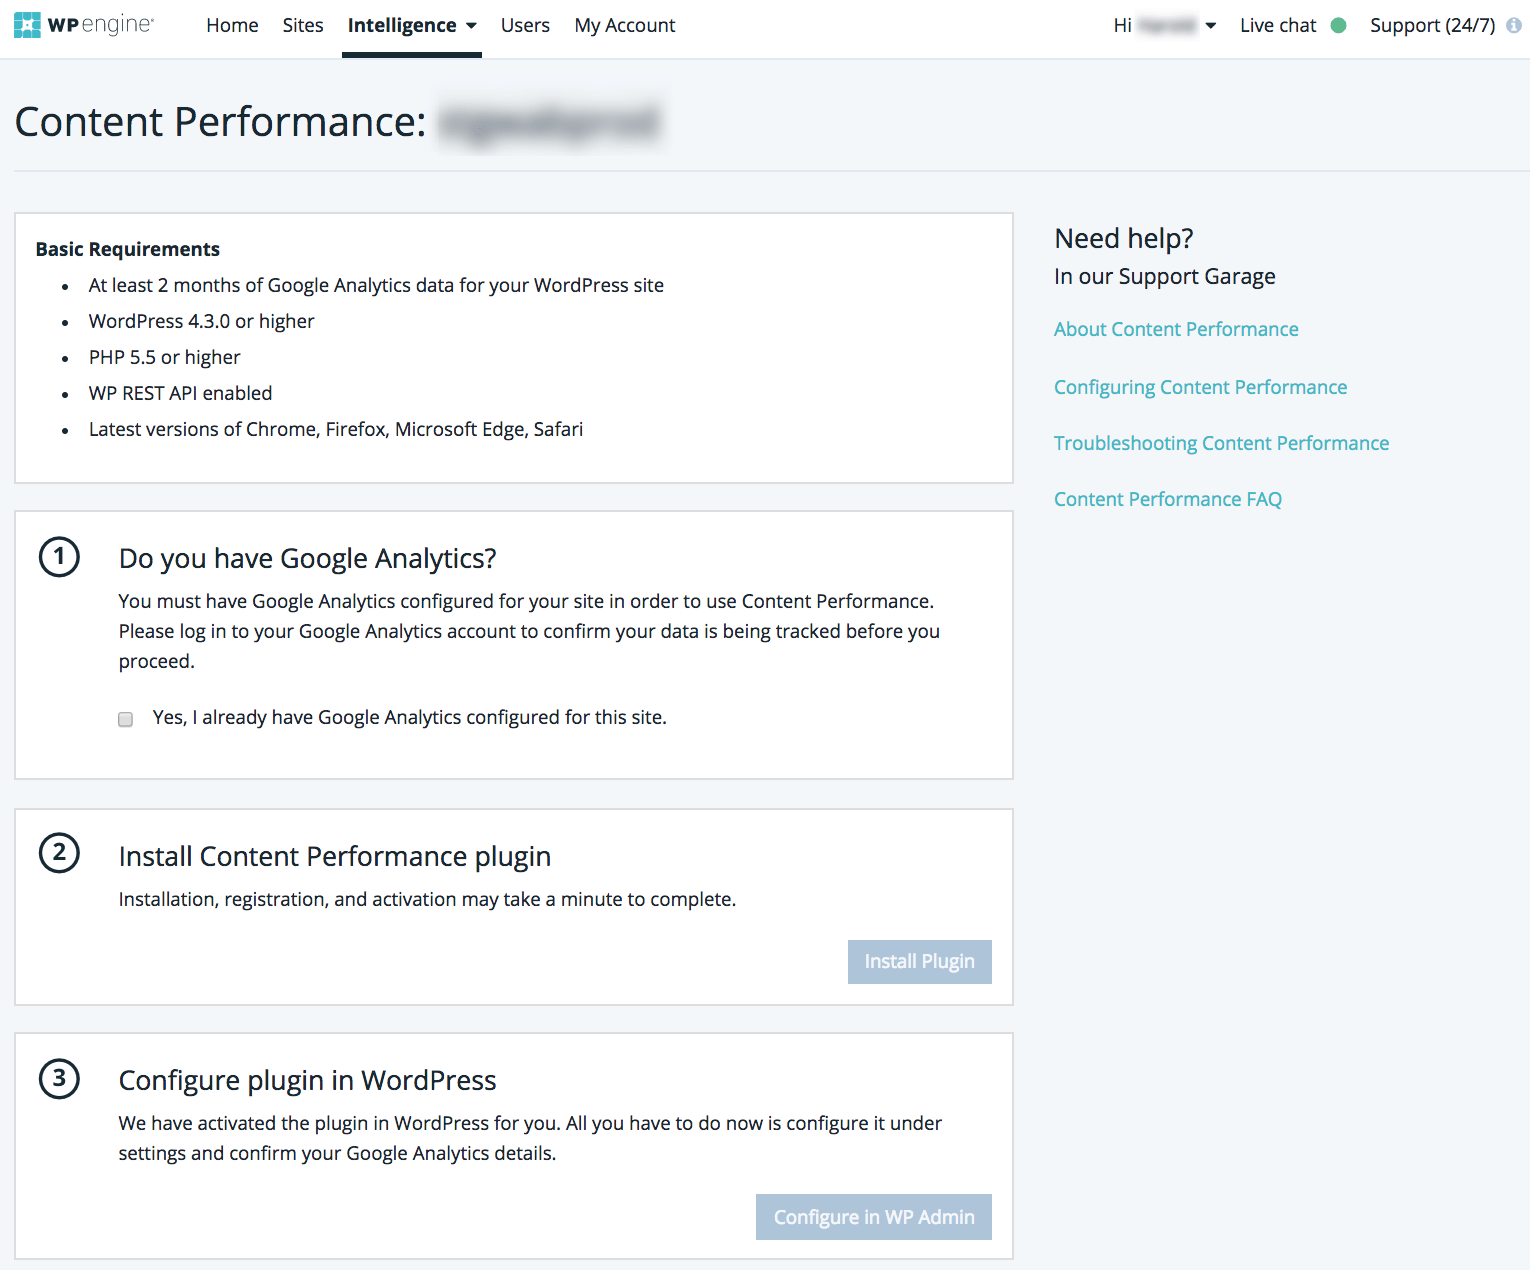
To begin using Content Performance, first navigate to your User Portal and sign in. Select Intelligence > Content Performance from the top navigation. If Content Performance is available for your account, you will see a list of production environments. Choose the production environment with which you would like to use with Content Performance in the list.
You will be taken to a configuration screen where you can follow three steps for enablement:

First, confirm your production environment has a custom domain added, and that it has Google Analytics set up already.
Next, install the Content Performance plugin using the “Install plugin” button. The installation, registration, and activation may take a minute to automatically complete. When it finishes, you will see your Access key and Secret key which have automatically been generated for you.
Now you will be able to configure the settings for the plugin in the WordPress Admin Dashboard. Click “Configure in WP Admin” to be taken to your Content Performance settings. From here, you will need to connect to your Google Analytics account to finish configuration. If the link does not open properly, please log into your WordPress Admin Dashboard to continue.
Step Two: Ensure Plugin is Active
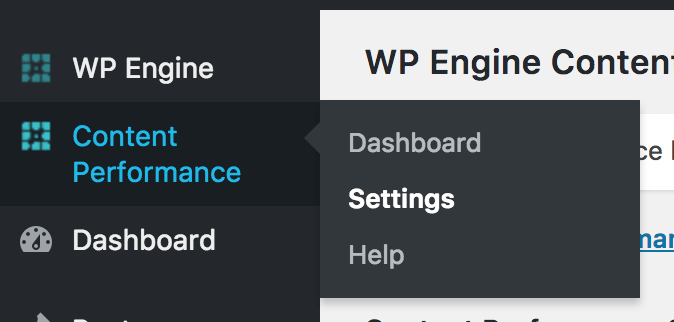
Once you are logged into your WordPress Admin Dashboard, first navigate to your Plugins > Installed Plugins page to confirm that Content Performance is activated. If not, activate the plugin. Once the plugin is active, navigate to the Content Performance > Settings page.

If you have manually activated the plugin in your Dashboard, you will be asked to enter the Access key and Secret key from your User Portal on this page.

If the plugin was already active, you will not need to enter your keys – they have already been saved, and you will see this screen instead:

Step Three: Connect Google Analytics
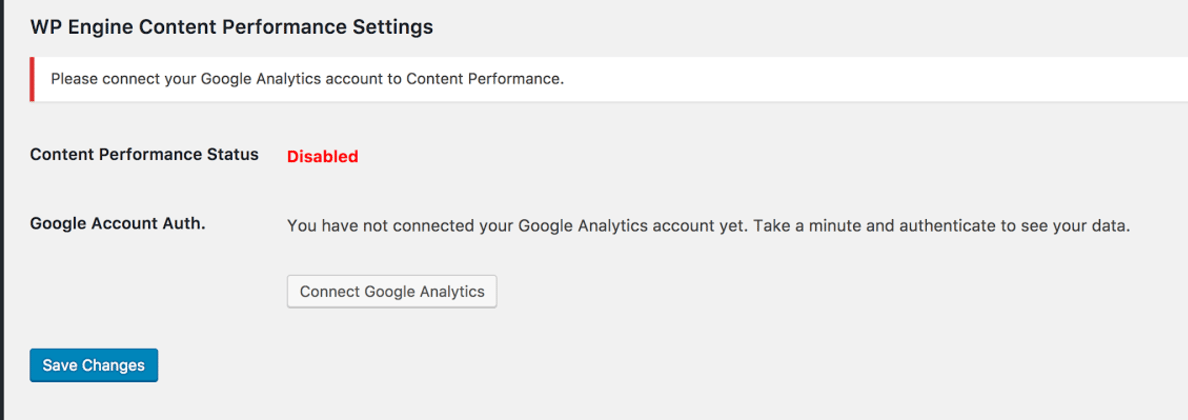
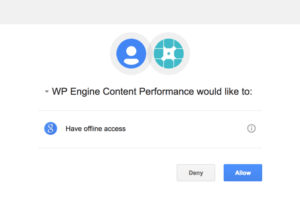
Next, click “Connect Google Analytics” to connect Content Performance to your Google Analytics account. Be sure to sign in with the Google account that is connected to Google Analytics for your site.

When you have authenticated the account, it will bring you back to the Plugin Settings page. In the dropdown menu, choose your profile. Ensure the profile you choose contains only this production website, and not multiple sites.
Once you save the settings, Content Performance will download the last year’s worth of data from Google Analytics. This process may take several hours. When Content Performance is done downloading the data, you will have access to the Content Performance > Dashboard page, which means you have successfully configured and enabled the plugin.
If you encounter any errors in this process, see Troubleshooting Content Performance for more information.