
For some websites with a very large number of pages and posts, Googlebot crawling your website can mean a very large number of uncached requests, which can cause site performance issues. In this article we explain how to implement a crawl delay so that Google crawls your site more slowly, causing less impact to performance.
Setting a crawl delay
In order to set a crawl delay, you will need access to your website’s Google Webmaster Tools search console. Here you will find information about how Google sees your site (structured data and schema), how many pages Google has crawled and indexed, and any errors Google has experienced in the process.
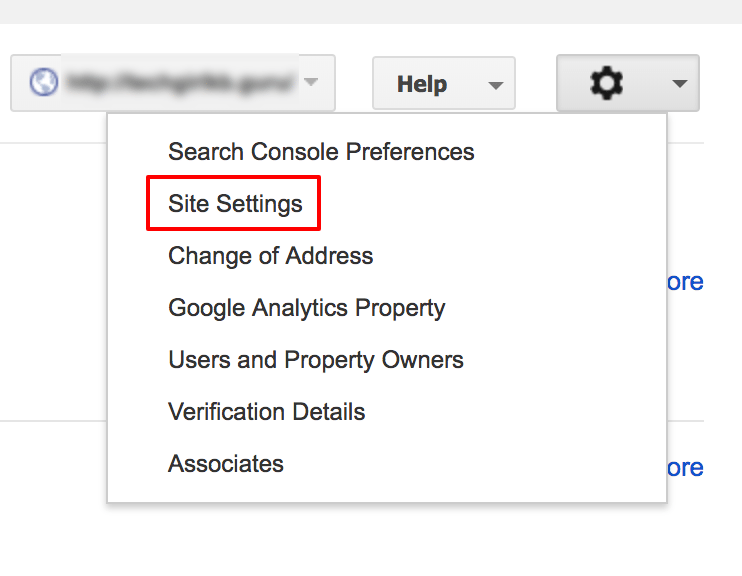
To set the crawl delay, click the “gear” icon in the top right corner, and select “Site Settings” from the menu.
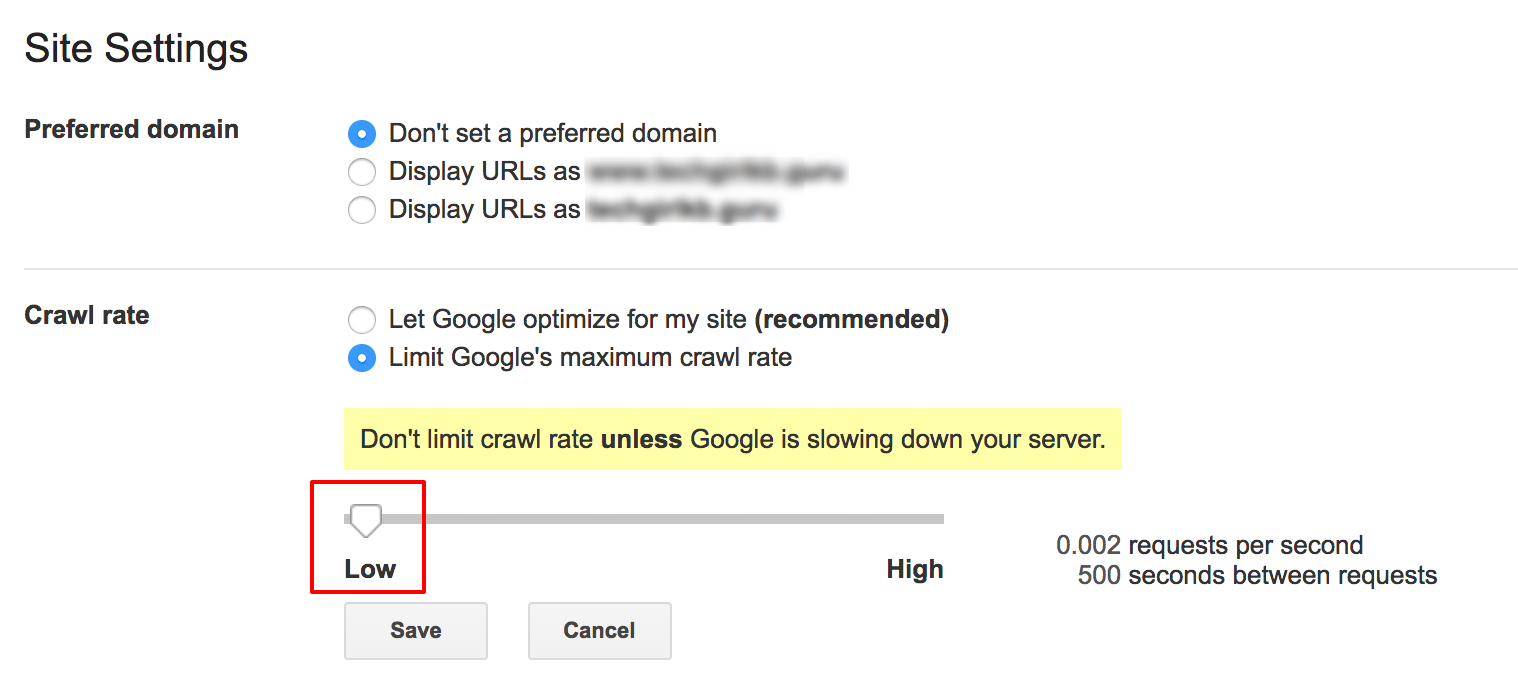
Then, under “Crawl rate,” select for Google to crawl at a “Low” rate, meaning it will leave many seconds between each request to your website.
When should I set a crawl delay?
Most websites will function just fine with the standard crawl rate from Google. In fact, WP Engine prioritizes traffic from real users over bot and crawler traffic with intelligent traffic shaping. However, if you experience slow loading times or 504 or 502 errors and you determine this is happening when Google is crawling your website, limiting the crawl rate is a good step. Remember, limiting the crawl rate will not cause Google to not crawl your site–it just spaces out the crawling a bit so that it doesn’t cause server or site performance conflicts.
If you are unsure whether slow performance is being caused by Google crawling your website, please open a live chat from your User Portal 24/7 so our Support team can help.