
Migration Checklist is a tool available in your User Portal, to assist with the manual migration process. Most sites will be able to use the WP Engine Automated Migration plugin to get their content and database to WP Engine. However, for those who are unable to use this plugin, this guide will assist you with the steps to migrate your site manually.
How it works
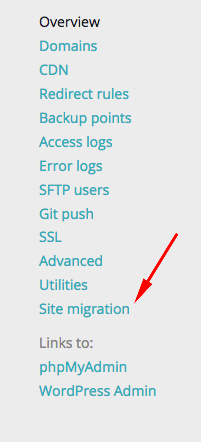
You can access the Migration Checklist from your User Portal by navigating to the Overview page for your new environment. Then, click Site migration from the left-hand navigation:
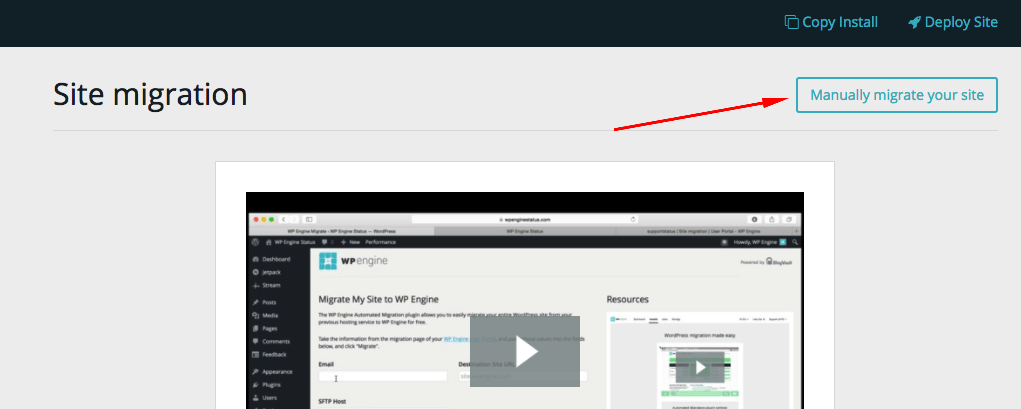
Next, click Manually migrate your site in the top right corner:
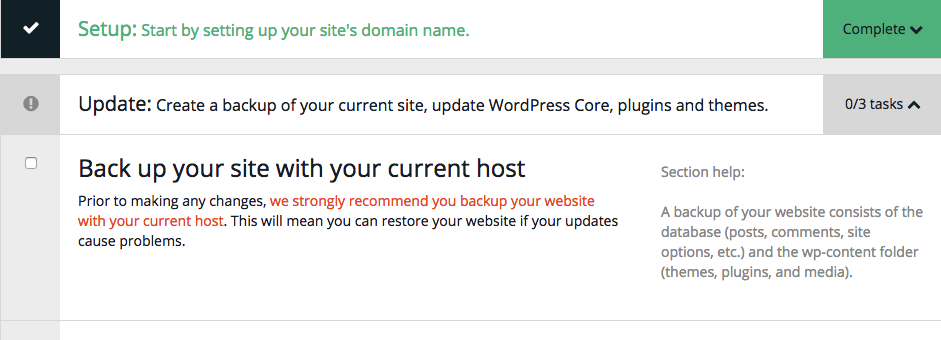
Use the checkboxes on the left rail of the checklist to keep track of your progress. Some checkboxes will automatically complete once you save or update information for those steps, such as adding a domain or changing SFTP credentials.
Migration Checklist Steps
We have broken down the migration process into the following phases:
- Setup: Configure your domain and SFTP credentials
- Update: Create a backup of your current site, update WordPress Core, plugins and themes.
- Export: Gather your wp-content and database from your previous host.
- Import: Transfer wp-content and database files to WP Engine.
- Verify: Preview your site to ensure the move was successful, and synchronize your site if necessary.
- Launch: Configure DNS and go live with your site.
If you have any issues or questions during this process, there is additional extended help available on our Knowledge Base.
Key Features
There are a few additional key features that will help ensure your migration is successful:
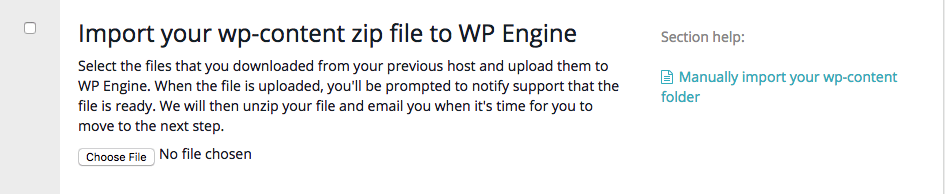
Unzip WP-content
For your convenience, we recommend that you upload your wp-content folder in .zip format. Be sure to click Notify Support after uploading your zip file. Using this option will open a ticket for our Support team to help import the wp-content.zip file on the server for you.
Preview
Migration Checklist features a one-button site preview as part of the Verify phase. This will help identify if there are any issues with your site before you go live.
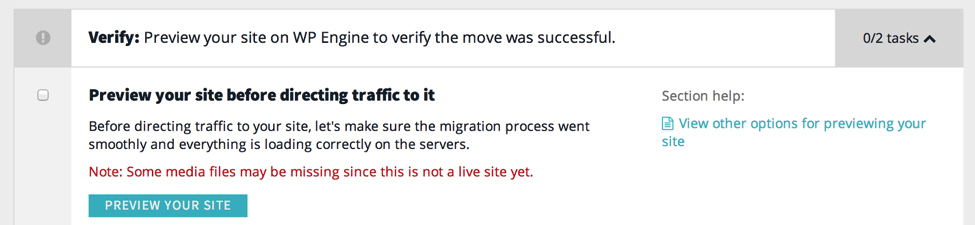
- Click on the Preview your site button.
- Your browser will open a new tab.
- Your site will be opened within a preview frame. The preview feature will attempt to overwrite any hard-coded URLS set to your Primary domain to your WP Engine domain, so that you can easily see if these files have been moved successfully during the import process.
- Review all site content, including posts, comments, images, and plugins, to ensure migration is successful.
If for any reason you encounter issues with using the preview functionality, you can use either the host file, or site/home URL methods.
DNS Notification
After you have configured DNS with your registrar, you can use the DNS notification feature in Migration Checklist to alert you when we have detected that DNS propagation was successful.
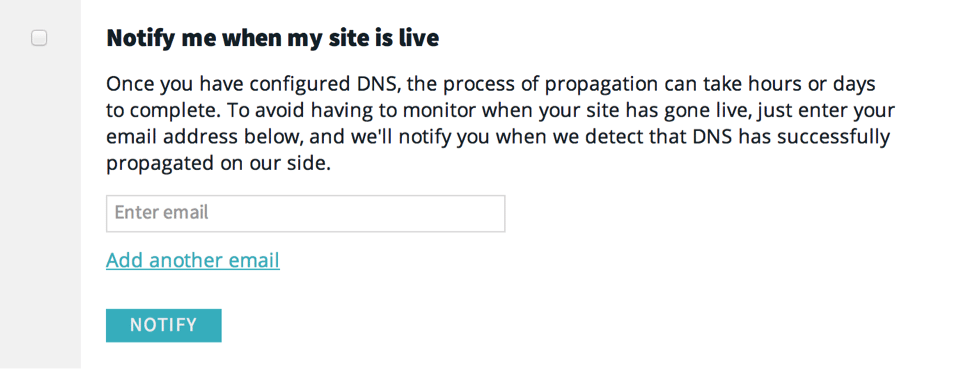
Simply enter the appropriate email addresses in the field. This will kick off a process on the backend that will begin to monitor to detect when DNS is pointed at WP Engine servers. You will receive an email when we have detected that DNS propagation was successful.