Please note: The content in this article is intended for Startup, Growth, and Scale plans. If you are on a Personal, Professional, or Business plan, learn about 1-Click Staging instead.
When you create a site, you can add up to three environments: production, staging, and development. You can add your custom domain to the production environment, and use the staging and development environments in your development workflow. In this article we will explain how to use the staging and development environments within your site.
About Staging and Development environments
Staging and development environments are available for every site you create in your WP Engine User Portal. These environments allow your team to develop and code website changes using your development environment, stage the changes for your team to view in your staging environment, and only push to your live, production environment when all changes look exactly right. We believe this workflow allows users more flexibility to work in an enterprise-grade development system.
Creating Staging and Development environments
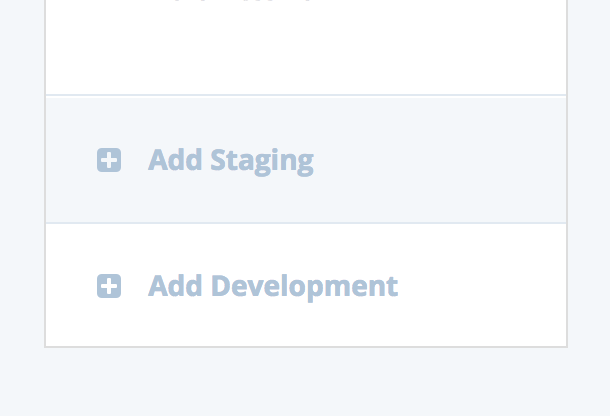
To create a staging or development environment, first select the site name from your list under the Sites tab. You will be taken to the overview of your production environment. From here, scroll down and select “Add staging” or “Add development” from the left-hand navigation.

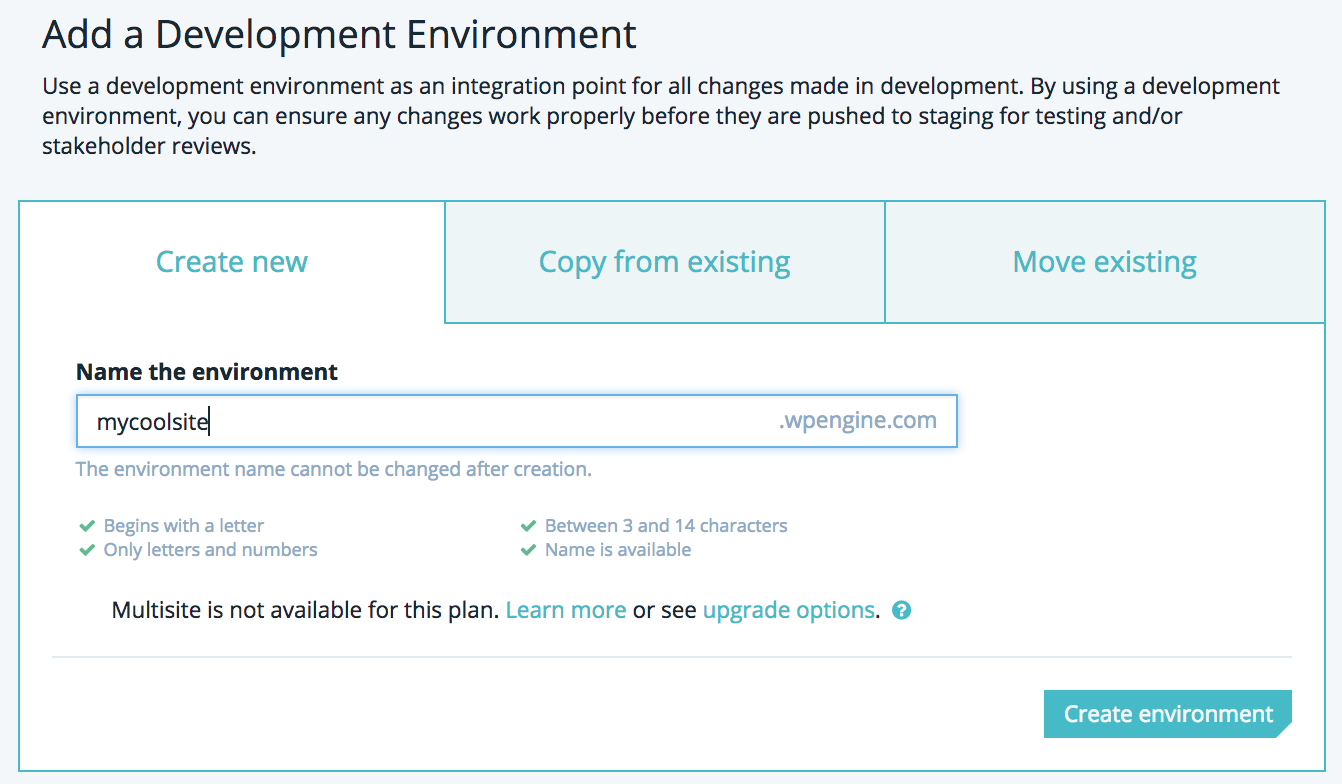
You will be prompted to create a new environment either as a copy of another (such as your production environment), or as a blank, default WordPress environment.

Click “Create environment.” You will receive an email when your new environment is ready to be used.
Copying to/from Environments
If you have made development changes to your environment, you may want to copy these changes up to your staging or production environments. In this example we will demonstrate the two ways to copy an environment: Copy to, and Copy from.
The first way is using the Copy to button. Before getting started, we recommend taking a backup of your production environment using the Backup points tab in the left-hand navigation. To copy your staging environment to your production environment, select the staging environment from your sites page. Select the Copy to button, and select production.

You will receive an email when the copy is complete.
The second method is using the Copy from button. To copy from your staging environment to your production environment, select your production environment from your sites page. We recommend first selecting Backup points from the left-hand navigation and taking a backup of your staging and production environments.
Then, select Copy from on the right side of the Overview page. Select staging, and you will be taken to a Copy screen asking you to choose which backup point to use. Choose the backup point taken in the previous step. You will also be able to select whether or not to include the database. Your database holds your site’s settings, users, and page and post content. Last, select the email address you would like to use.

You will be able to preview the copy details before clicking “Copy site.” The email address you entered will then receive an email when the copy is completed.