When hosting your WordPress site on WP Engine, we allow users to connect to their site’s filesystem using SFTP only. On other platforms you may be used to using FTP. SFTP is exactly the same, except it uses a layer of encryption for security. In this article we’ll explain how to connect to your site using SFTP.
Step One: Select your SFTP client
The first step in connecting over SFTP is to use an SFTP program that supports port 2222. This is the port used with SFTP on WP Engine. Some programs which support SFTP include:
- FileZilla – Works on all operating systems
- CODA – Paid software for MAC, but has awesome live edit mode
- Notepad ++ – Works on PC only but has also has a great live edit mode
Once your SFTP client has been downloaded, launch the program to get started.
Step Two: Locate your SFTP credentials
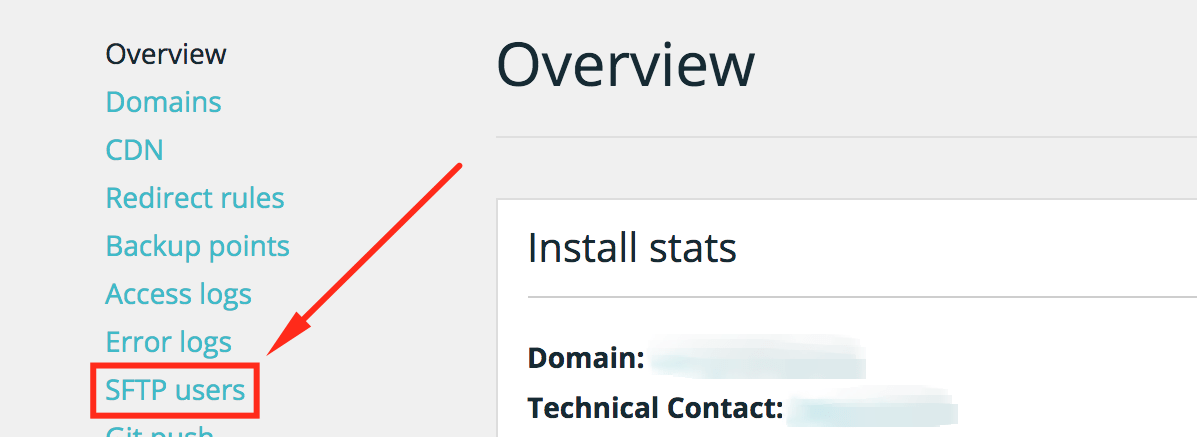
To connect over SFTP, you’ll need a set of SFTP credentials. First, log into the User Portal and select the environment you want to access. Click “SFTP users” from the left column.

Across the top of this page you will see the SFTP Address and Port number. Take a mental note of these fields for later on. In the center pane you’ll see either a list of users, or a message “There are no SFTP users for this environment.” If your username is not in the list and/or you see the message above, you will need to create an SFTP username and password.
If needed: Add a user
If you don’t already have an SFTP user created, you can use the following steps to create a user.
First, click the blue “+ Add SFTP user” button in the SFTP pane:

Select your preferred username. When created your username will be added to the end of your environment name. So if I entered “Bob” for “Username,” the resulting username would be “yourenvironment-Bob.”
Now select your preferred password. If you want to securely generate a random password, click the “lock” icon in this box. If you choose to set your own password, we highly recommend the password you choose to be:
- At least 12 characters
- Uppercase and Lowercase letters
- Include numbers and at least one special character
Next you can choose to restrict the access to only a specific path. For example, if you only wanted your theme developer to work in the theme directory, you can set wp-content/themes/ as the path to restrict this. If left blank, this will allow the user access to all your site’s files.
Last, the dropdown menu is to choose whether this user should have access to the Production environment, or the 1-Click Staging environment. Only one can be selected per user at a time, but you are free to edit these settings at any point.
Step Three: Connect
Now that you’ve found your credentials, it’s time to enter them in your SFTP client to make the SFTP connection. In the following example we’ll be using FileZilla, but you can use similar steps in any of the SFTP options mentioned earlier.
First, open FileZilla. At the top of the pane you will see four “Quickconnect” boxes where you are prompted for login credentials.
- Enter the SFTP address in the “Hostname” field. In the Quickconnect pane you are required to enter sftp:// before the address to tell FileZilla you want to use the FTP method with encryption.
- In the username field enter your username generated above. Remember, this will always be the environment name, followed by your username. For example, myenvironment-Bob.
- In the password field enter your password generated above. Pay close attention to caps, as this field is case-sensitive.
- Last, for port enter 2222.

Click the “Quickconnect” button now to make the connection to your WordPress site. You will see a popup indicating that this is the first time you’ve connected if you have never connected to this site with SFTP before.
Once you are connected to your site, you will see a directory listing of your computer’s contents on the left, and your site’s directory on the right. You can click and drag files between environments as needed. For a quick reference, here’s where you can find some of the most common items needed:
- Theme files: wp-content/themes/
- Plugin files: wp-content/plugins/
- Uploads: wp-content/uploads/
We highly encourage making a backup point of your site before changing any files! For instructions on how to quickly and easily backup your site, see our Site Backups article.