
Organizing your websites into groups gives you an easy way to manage and organize your sites in the WP Engine User Portal.
Groups are sets of WP Engine sites. A site can only be associated with one group at a time.
Groups help you organize your sites in a way that makes sense for your business—by client, project, web property, type of site, or some other characteristic. Using groups is a way to keep you and your team sane as you grow your business. And as you manage more and more websites with WP Engine, groups become increasingly useful.
Organizing Sites
There are infinite ways you can use groups to organize your sites and help your team better understand how you use WP Engine. Here are a few example use cases:
Group by Project
Sometimes projects involve different web properties: one install for a blog, another for a marketing microsite, and another for an internal company wiki. Leverage groups to keep your WP Engine User Portal dashboard easy to understand, and keep track of all the web properties for a specific project.
Group by Web Property
Multi-environment development is more popular than ever. Leveraging multiple installs to create Production, Staging, and Development installs is a great way to create a complex workflow. Groups can help you keep track of these installs and group them together.
Group by Client or Department
Have a client or a department with more websites than you can keep track of? Groups can help you keep track of all of those sites and make it easier to quickly check in on a set of sites when it’s time to review your client’s account.
Creating a Workspace Group
- To create a group, click “+ Add group” from the Sites page

- (if you don’t have a Sites page, you will find this option on the Dashboard page instead)

- (if you don’t have a Sites page, you will find this option on the Dashboard page instead)
- Name your new group, add any applicable notes, and add the applicable sites (or installs) to it.
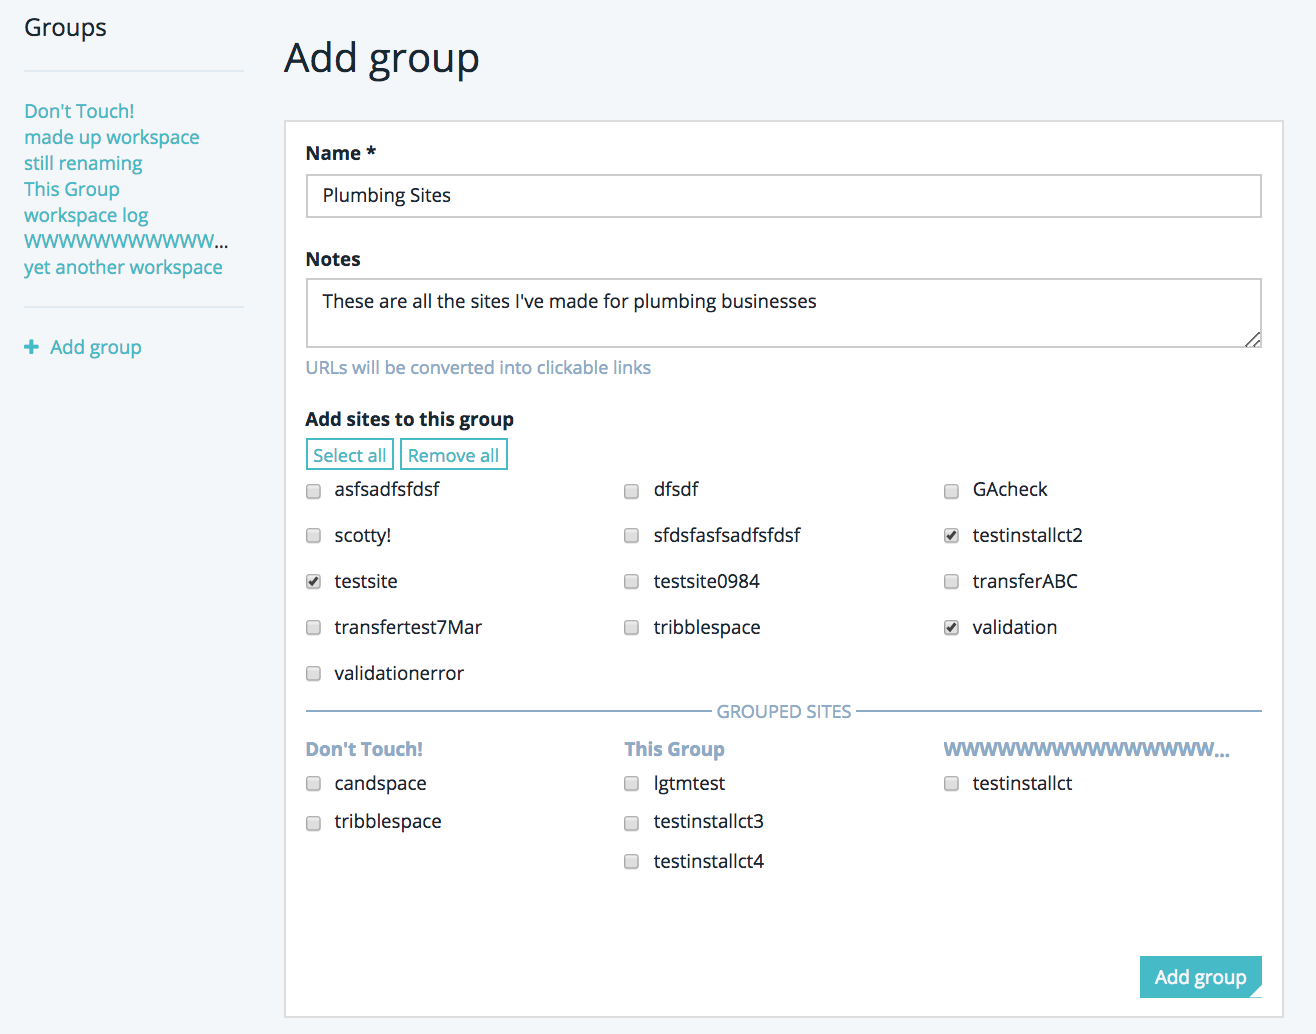
- Click Add group to finish the creation of this group.
- You will see your new group on the Sites page!
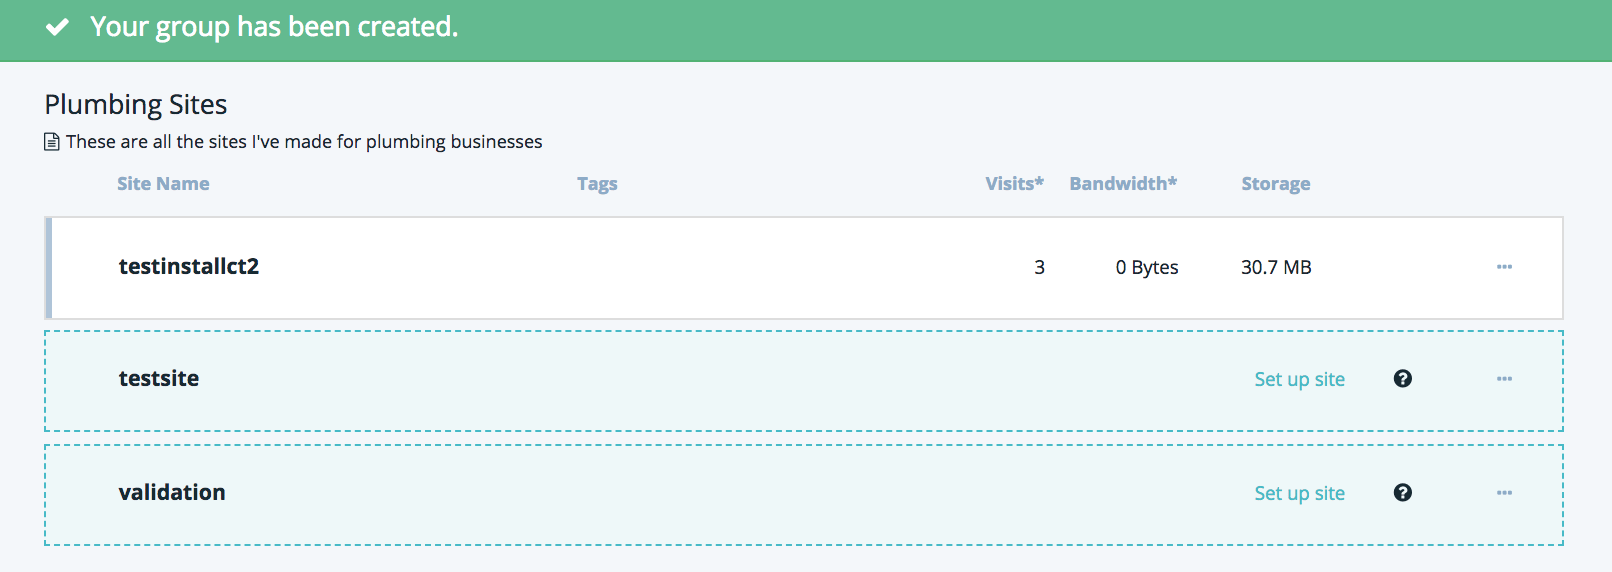
- Or if you don’t have a Sites page, your group will be shown on your Dashboard instead
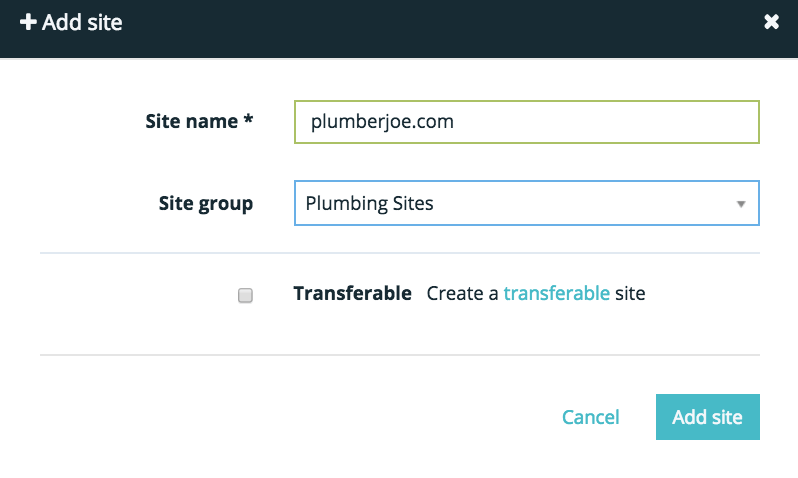
- Once you’ve created a few groups, you can quickly choose a group when you add new sites as well.
Editing Groups
After you have added a group, you can also edit the name, description, and the sites included in the group. To edit a group just hover over the site name and click the pencil icon.
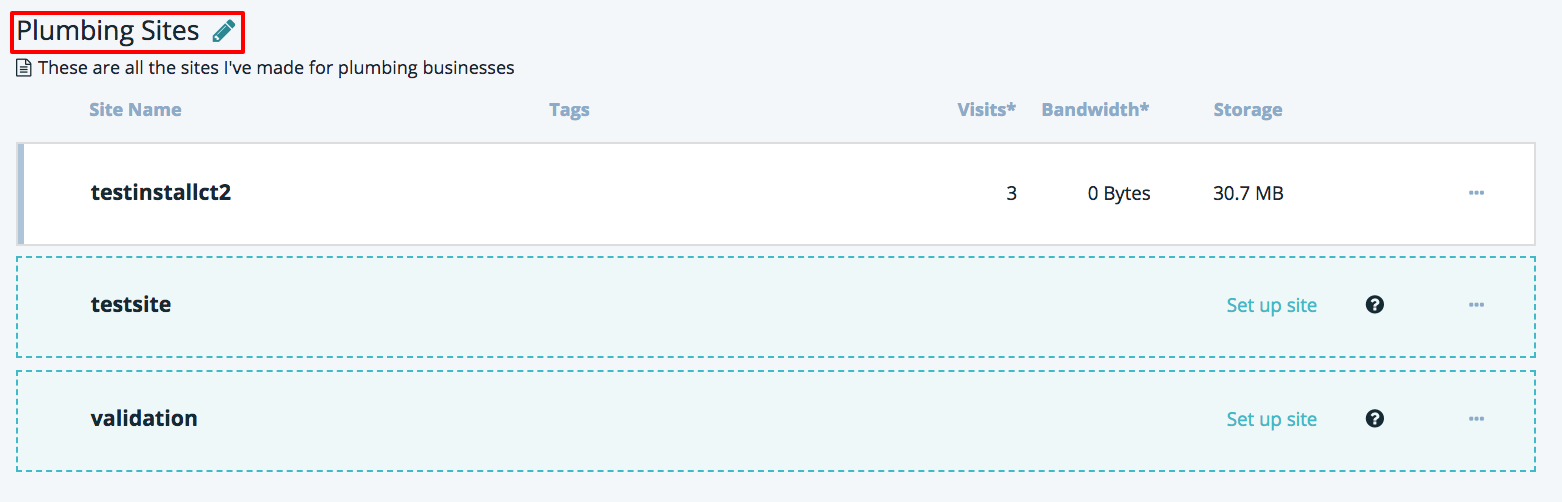
From here you can enter a new name for your group, add or edit the description, and add or remove sites from your group.
If you encounter any questions or concerns when using groups, please contact support via live chat–available 24/7 in your User Portal–for more help.