About Backups
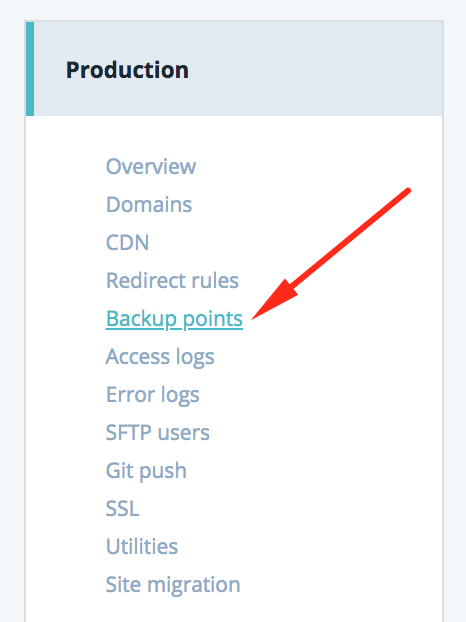
The WP Engine platform has an automatic backup feature to help ensure that your data is kept safe. These daily backup points can be accessed by visiting the WP Engine User Portal, navigating to the Overview page for your environment, and then clicking on Backup Points from the left-hand navigation. These backup points contain your environment’s database and all theme, plugin, uploads, and core files (with a few exceptions listed at the end of the article).
Please note we have added the same functionality for 1-click Staging, and these backups can be accessed by clicking the Staging (or Legacy Staging) button on the Backup Points screen.
The Backup Points section shows the last 40 backup points. If you need one from before the oldest shown, please contact our Support team by opening a Live Chat (available 24/7) so we can see what older backups are available–typically to a maximum of the last 60 backups.

Below, you’ll find how to perform backups in both production and staging environments.
Create a backup point manually
From the Backup Points menu, you can manually create your own backup points by clicking on the Back up now button at the top right of your screen. You’ll be asked to give your restore point a name, which is helpful for keeping track of when you created the restore point. For example, “Before Plugin Upgrade.”

By default, we’ll send a notification to all users with Owner level access for your account. If you’d like to add additional email addresses to be notified when the backup is complete, you can do so in the Send notification to box, though this is not required.
We recommend using this method to create a restore point before making any major changes to your site. This can include installing or updating a theme or plugin, or making changes to your site’s code. This way, you can easily revert your changes in the event something goes awry.
Roll back to a previous backup point
Your site can be reverted to any restore point listed in your User Portal. To do so, select the restore point you’d like to revert your site to by selecting its checkbox on the left side.
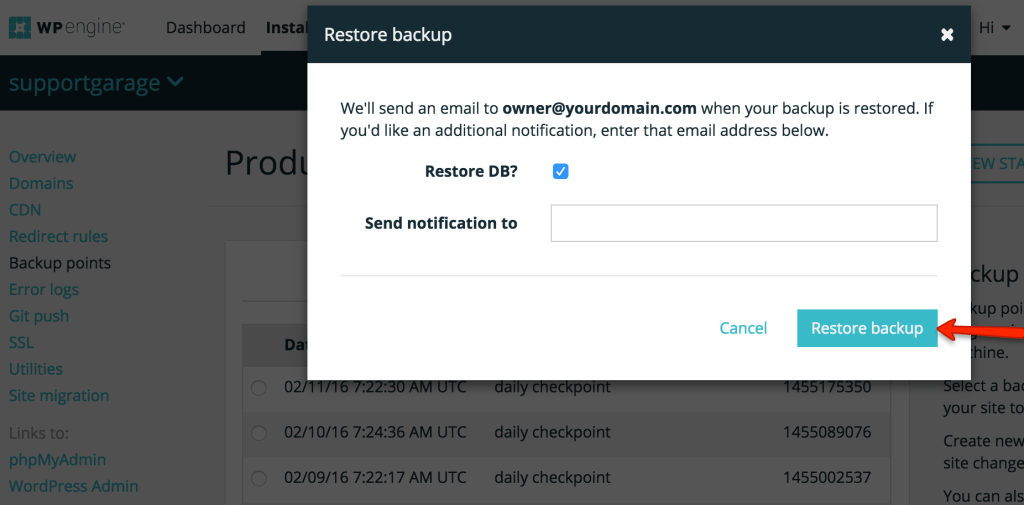
Once selected, click on the Restore button at the top right of the screen. A checkbox that says Restore DB will appear. If you check this box, it will restore your site to exactly as it was when the restore point was taken. This includes your post content, so if you’ve made changes or added new content to your site since that restore point was taken, these changes will be undone.
If left unchecked, the database will not be modified and only the files on the server will be reverted. This is particularly useful if you’ve added new content to your site that needs to be kept intact.
When you restore your site to a previous instance, the tool will automatically create a new backup point immediately before it begins the restore. This way, you can easily roll your site back to its state immediately before you started the restore.
Once the restore is complete, the account owners will receive an email notification. You will also have the option to add additional email addresses for notification before starting your restore.
Restore to Target
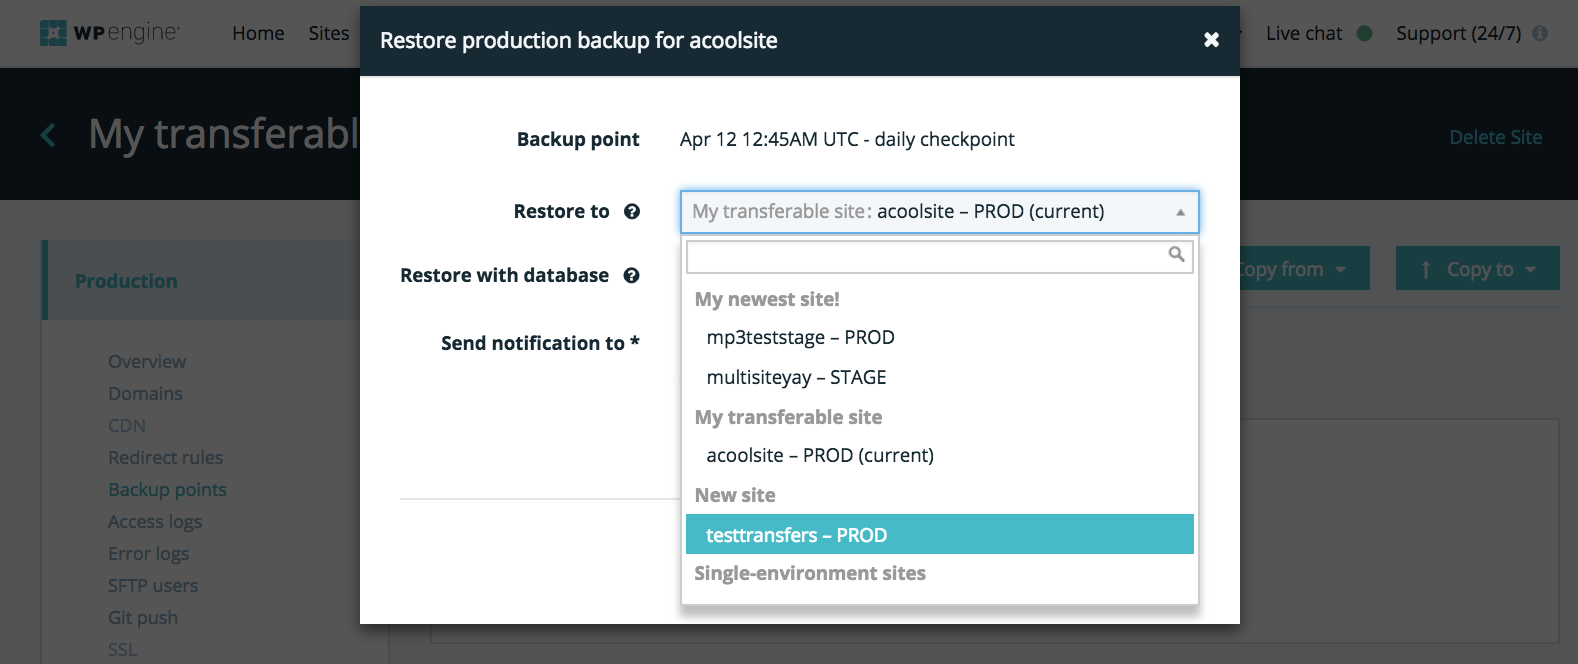
When you choose the “Restore” option from the Backup points page, you also have the ability to restore to a different install or environment. This works similarly to our Copy to/from tool, and can be used as an alternative option to copy between environments in different sites. To restore a backup from one environment to another, first make a backup of your Source environment (the one being copied “from”). Then, select that environment in the list and choose “Restore.” You will now have the option to select any other environment to restore to (the “destination”):

Select the environment to which you would like to restore and select your preferences for the rest of the options. You will receive an email when the restore completes at the email address(es) specified in the above pane.
Download your backup point
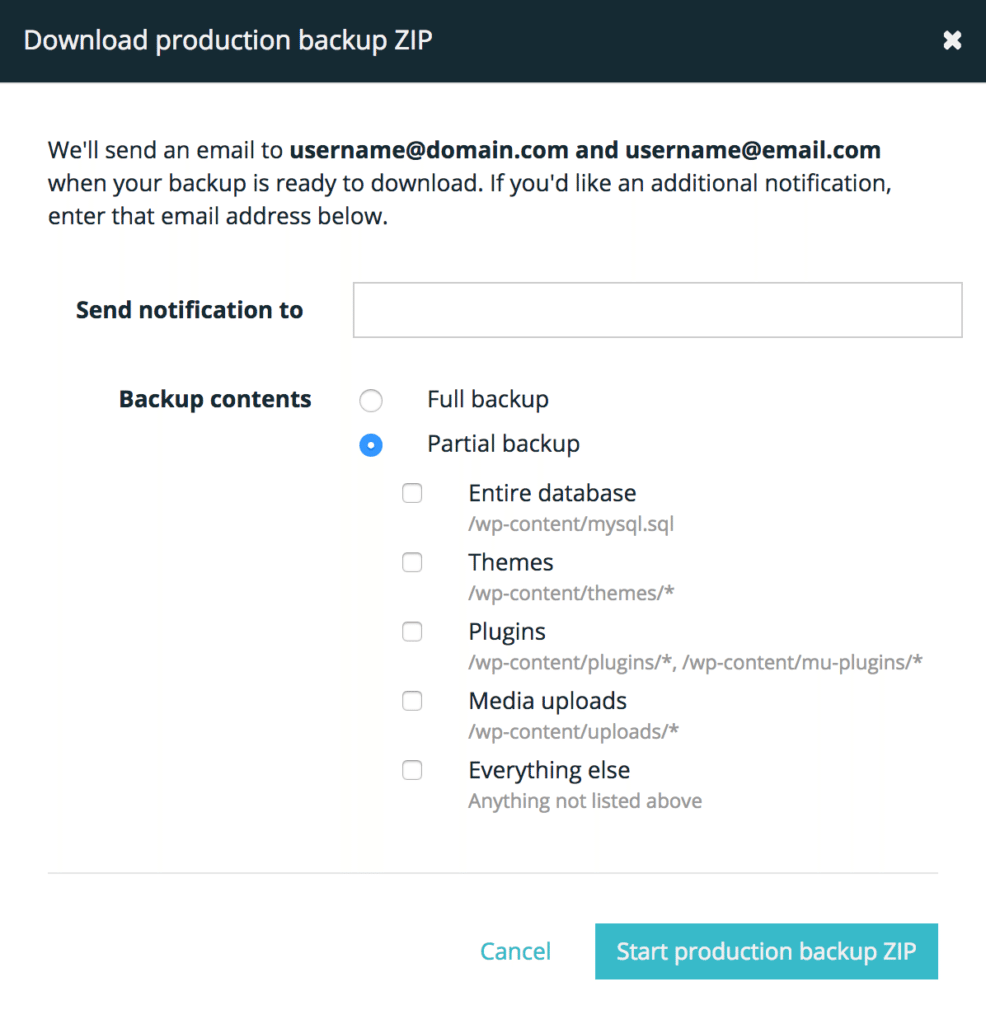
We offer two ways for you to download content for your site. The first is the Full backup, which includes your uploads, themes, plugins, WordPress core files, and database backup. The second is a Partial backup. The partial backup allows you to choose any combination of database, themes, plugins, uploads, or the rest of the files not included in the previous categories including core files.

Both of these options will be sent to all of the owners on the account as a download link for a zip files, however you can add any additional email addresses you want. If the zip you’re getting contains the database, it will be a file named mysql.sql inside of the wp-content directory.
Excluded from backup points
You will notice that our backup points do not include some of the folders present in your site. These exclusions mainly include directories and files from caching plugins (several of which are disallowed on our platform, and the files that they create are intended to be temporary), and backups from either WordPress management tools or backup plugins.
In case you should need any of the excluded file content, open a 24/7 Live Chat from within your User Portal. For your reference, below is a list of all of the file types that are not included in our restore points:
.*~ (These are typically drafts of files edited with a command line text editor)
 .*/_wpeprivate (This directory is typically used for short term file storage)
 .*.(svn|cvs|git|log|tmp|listing|cache|bak|swp)
 .*/log.txt
 .*/cache
 .*/imagecache.*
 .*/ics-importer-cache
 .*/gt-cache
 .*/wp-content/w3tc.*
 .*/wp-content/w3-.*
 .*/wp-config-sample.php
 .*/wp-content/plugins/wpengine-snapshot/snapshots
 .*/wp-content/uploads/snapshots
 .*/wp-content/backups
 .*/wp-content/managewp
 .*/wp-content/upgrade
 .*/pclzip-.*
