Please note: The content in this article applies to Personal, Professional, and Business plans. If you are on a Startup, Growth, or Scale plan, read How to Add and Delete Sites and Environments instead.
When managing your websites in the WP Engine User Portal, you may need to add and delete WordPress installs on your account. In this article we will explain how adding and deleting is managed on Personal, Professional, and Business plans.
Add an Install
To Add an install log in to the User Portal and click on “Installs” in the top nav bar:
Then click on “Add Install” in the dark blue top nav bar:
![]()
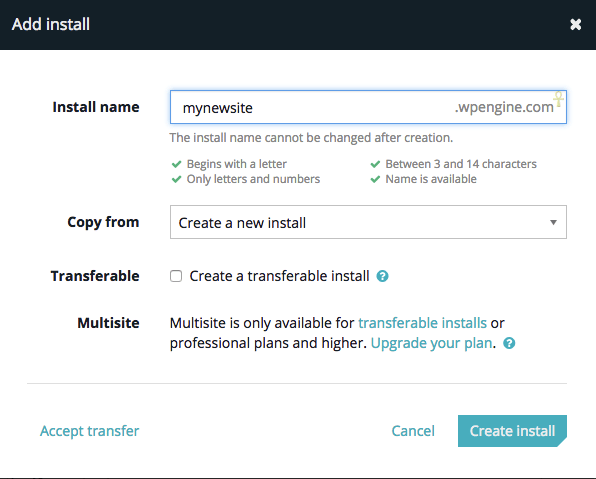
In the prompt box, you will need the installation name and choose if you would like WordPress Multisite, whether this should be copied from another install, and whether the install should be transferrable:

Type in the name of your install and then click on the button that says “Create Install.”
You will receive an email shortly, notifying you that your install has been created.
Delete an install
Please note: You must be logged in as a User with an Owner role to delete an install.
Log in to the User Portal and click on the account you wish to delete
In the top right of the first dialogue box, click “Delete Install”:
A dialogue box will appear to verify you wish to delete the install.

