
SSH Key Management
If you prefer maintaining WordPress sites using the command line environment, you’re in luck! WP Engine’s SSH Gateway service provides shell access to a Linux environment so that you can manage your site’s files, database, and run commands such as those available through WP-CLI. Before adding your key, ensure you have SSH Gateway access enabled using our guide.
Please note: SSH Gateway is available for customers on dedicated servers. Please contact your Account Manager to check if your account qualifies for access.
In this article you’ll learn how to setup and manage SSH keys for shell access, so let’s get started.
SSH Keys
An SSH key casts aside the username and password, while providing greater security and saving you valuable typing time during authentication. WP Engine’s SSH Gateway system only allows you to authenticate via SSH key.
To configure key-based authentication for shell access, you’ll need a public/private key pair configured for your profile, which means you may need to generate a key pair for the SSH protocol (SSH key), and then you’ll need to add the public key of the key pair to your profile using the User Portal. Please note: All users will be able to view this page. However, SSH Gateway is available to customers on dedicated servers.
As the name implies, your private key should be kept private, and it should be stored on the machines from which you want to authenticate (usually in the ~/.ssh directory for UNIX-like operating systems, such as macOS or Linux).
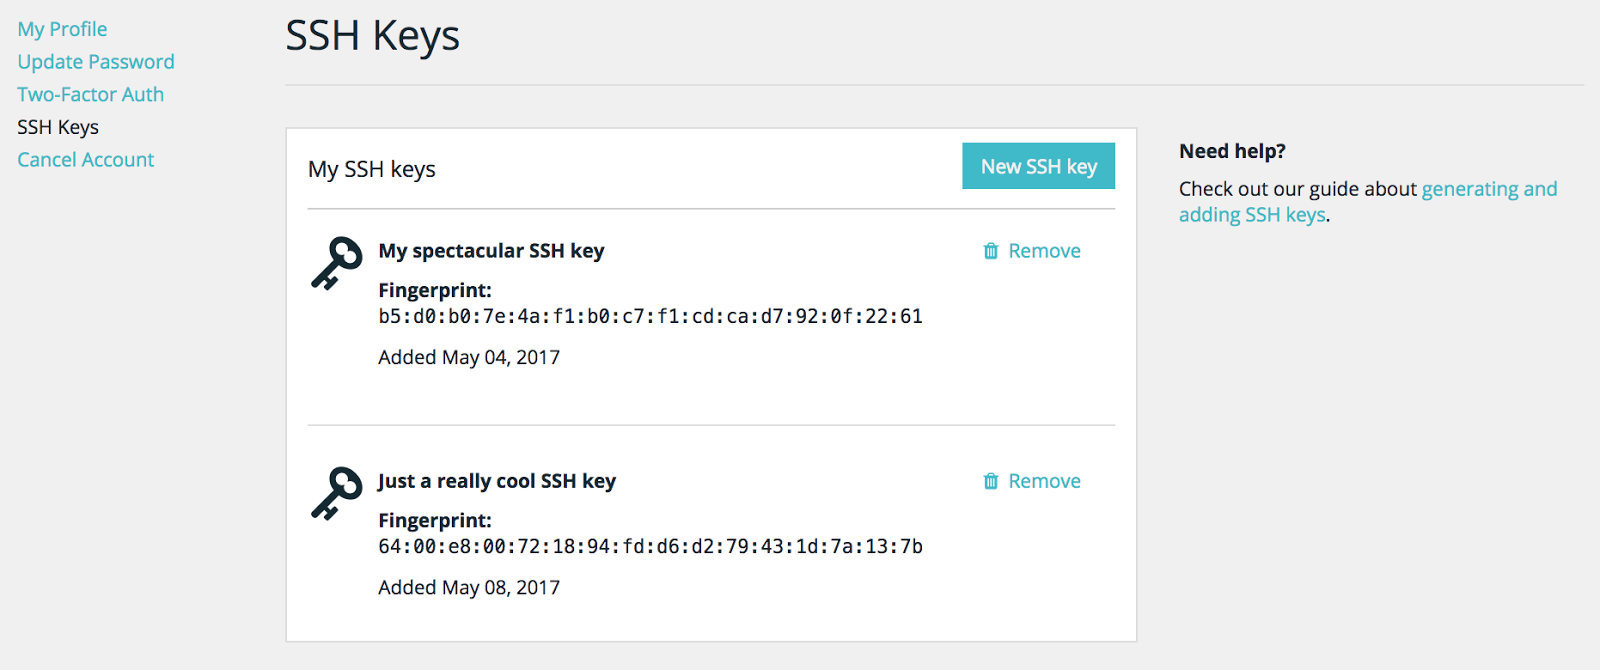
View Existing SSH Keys
Before you add an SSH key, take a look at the SSH keys configured for your profile.
If you have a public key configured for your profile, then you’ll just need to be sure the corresponding private key is stored on the machine from which you want to sign in. Look in your .ssh folder. If ~/.ssh/wpengine_rsa and ~/.ssh/wpengine_rsa.pub exist, you already have a key configured for SSH access on this machine. Ensure the .pub file matches at least one of the keys configured in your User Portal.
If you don’t have a key listed here or you want to create a different key pair for another machine, learn how to generate a key below.
Pro tip: Be sure to audit the SSH keys on your profile routinely to remove keys that you no longer use.
Generate New SSH Key
If you already have a key pair that you want to use for shell access, then you can use that key. Otherwise you’ll need a new key pair which you can generate with these simple instructions:
- Open a Terminal window (on Mac you can use the Spotlight utility and type “Terminal”), or Git Bash for Windows.
- Use ssh-keygen to generate a new key as shown below
ssh-keygen -t rsa -b 4096 -f ~/.ssh/wpengine_rsa
- Type a secure passphrase when prompted
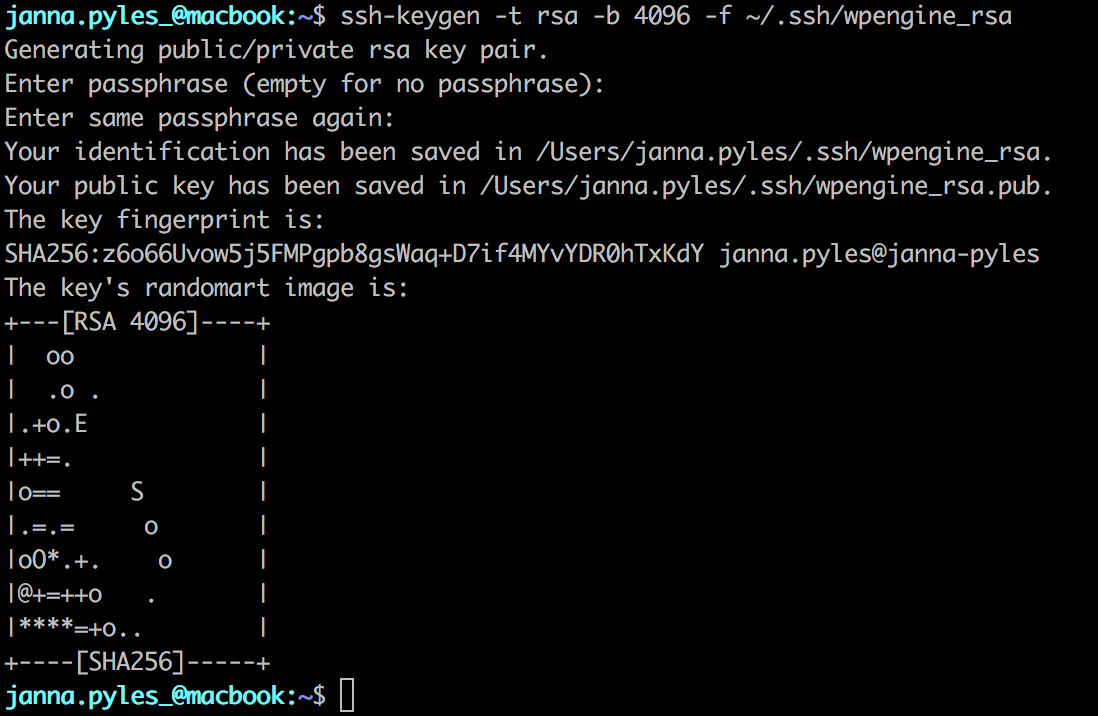
Doing this will generate a private and public key pair. The wpengine_rsa file located in ~/.ssh/ is your private key, and the wpengine_rsa.pub file is your public key. You will need to add the contents of your wpengine_rsa.pub file to your SSH Keys page in User Portal.
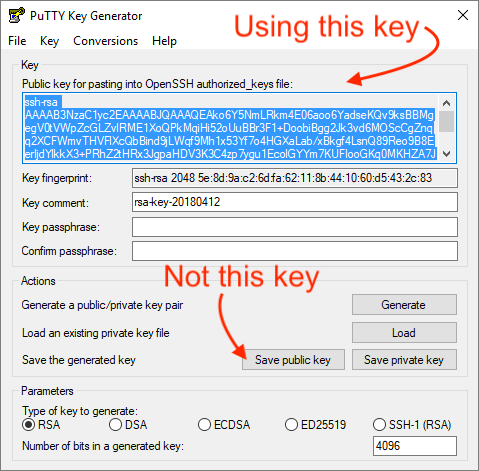
If You Are Using PuTTY
When you install the PuTTY program, you also install the PuTTYgen utility. Open the PuTTYgen utility to generate your SSH key on your Windows machine.
When asked which type of key to generate, select SSH-2 RSA. Click the “Generate” button to create your public and private key pair. After the key pair has been generated, copy the public key from the top of the Key Generator (NOT using the “Save public key” button). Use the key from the top of the page when entering a key in the SSH Keys page of the User Portal.
Manage Your Keys with an SSH Configuration File
After setting up your public/private key pair and adding it in the User Portal, it is best practice to setup an SSH configuration file. The configuration file designates which public/private key pair should be used based on the hostname of the server you are connecting to.
The configuration file will simply be named “config” and will live in your ~/.ssh/ directory. If this file does not exist already, simply create one like so:
touch ~/.ssh/config
Now you can edit the file using your favorite command-line editor (such as nano or vim). Below is an example of what you can place in your ~/.ssh/config file:
Host *.ssh.wpengine.net
 IdentityFile ~/.ssh/wpengine_rsa
 IdentitiesOnly yes
This will ensure that the new key you created is used every time you attempt to connect to any host that matches “*.ssh.wpengine.net.”
Add SSH Key to Your Profile
To use shell access for your site, you’ll need to configure your profile’s SSH keys.
- Copy your public SSH key to your clipboard. Type the command below, then highlight the contents and copy them.
cat ~/.ssh/wpengine_rsa.pub
- Navigate to the SSH keys page in your profile, or use the direct link (https://my.wpengine.com/ssh_keys).
- Click “New SSH key” on the SSH keys page in your profile.
- In the Public key field, paste your public key.
- Click “Add SSH key.”
Test Your SSH Key
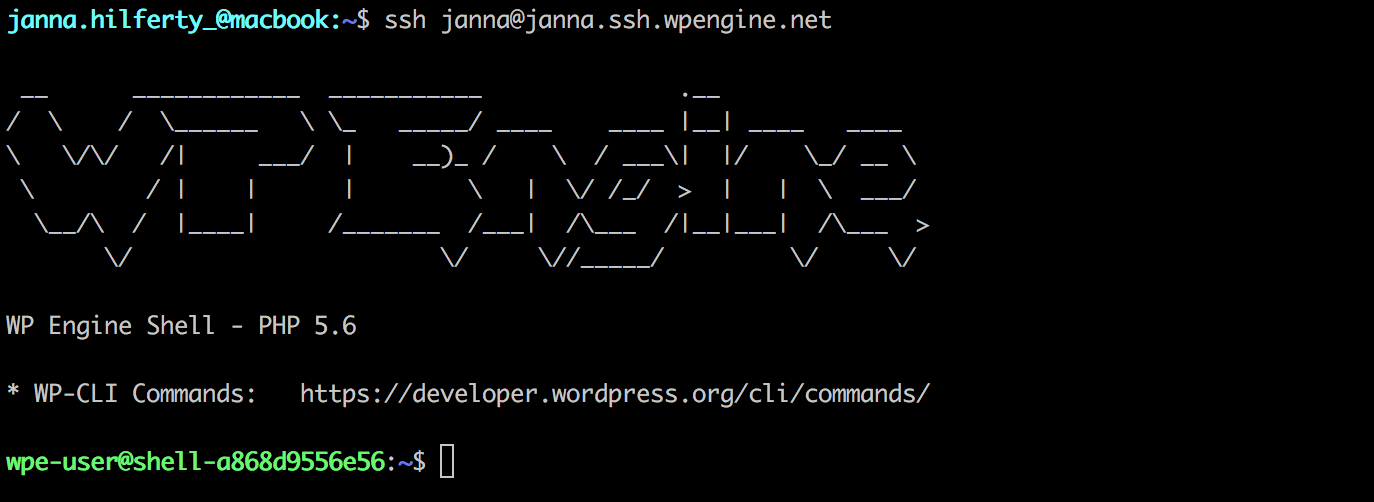
After adding your SSH key to your profile, you can test your shell access by typing this command on a terminal:
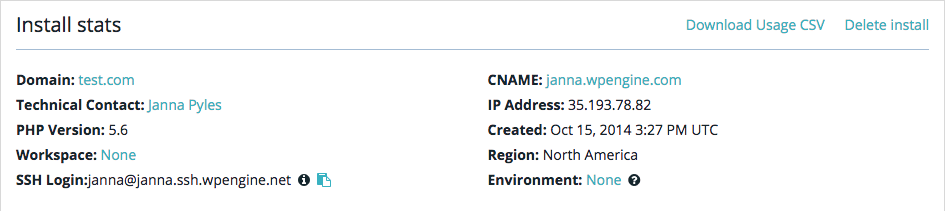
ssh [email protected]
This login information can be found in your User Portal, on the Overview for each qualifying install. Click the clipboard icon to copy the string, and paste it in your terminal window.
For example, if I was trying to connect to the “myinstall” install:
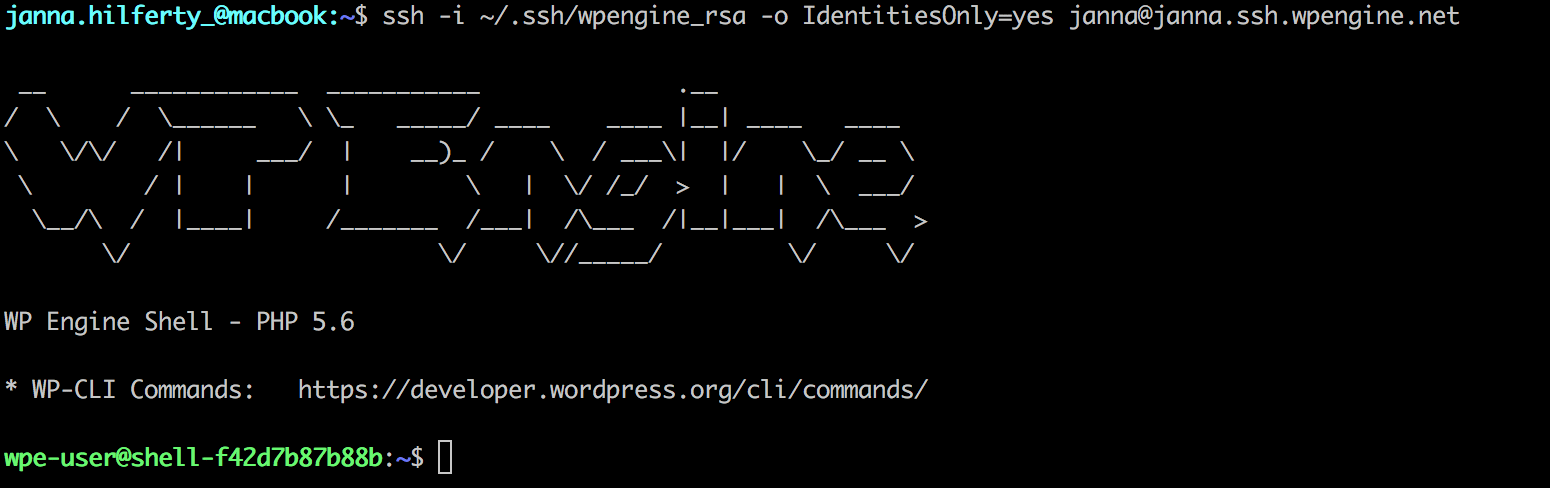
Or you can specify the key if you chose to not create the SSH configuration file:
ssh -i ~/.ssh/wpengine_rsa -o IdentitiesOnly=yes [email protected]
Deleting SSH Gateway Keys
Users can delete their own SSH Gateway Keys in the WP Engine User Portal by clicking the “remove” link. While users cannot delete SSH Keys of other users, they can remove the user or lower their access level to remove access. Users of the WP Engine User Portal will only be able to connect to installs to which they have access. So by setting a user to “Partial” access and limiting them to only specific environments, you can limit their access via SSH Gateway. And by removing a User from your account, you will remove their SSH Gateway access to the environments on your account.
Removing a user from your account does not delete the user, because the user may also have access to other accounts. In fact, a User Portal user may exist without access to any accounts. However, the user will only be able to connect to the environments to which they have access with SSH Gateway.
It is best practice for each user to add their own separate SSH Key. Do not share SSH Keys among multiple users.